
After reading many reviews and looking at all the options, I bought Lisa a Second Generation NEST Learning Thermostat for her birthday. (I know romantic, right?)
Well, it is a sexy piece of technology and, since we enjoy home improvement, she was very excited.
Well, it is a sexy piece of technology and, since we enjoy home improvement, she was very excited.
It really could not have been simpler to install.
First, look at your old connections and let the Nest website know what you have.
They instantly tell you if you are compatible or not. We were.
First, look at your old connections and let the Nest website know what you have.
They instantly tell you if you are compatible or not. We were.
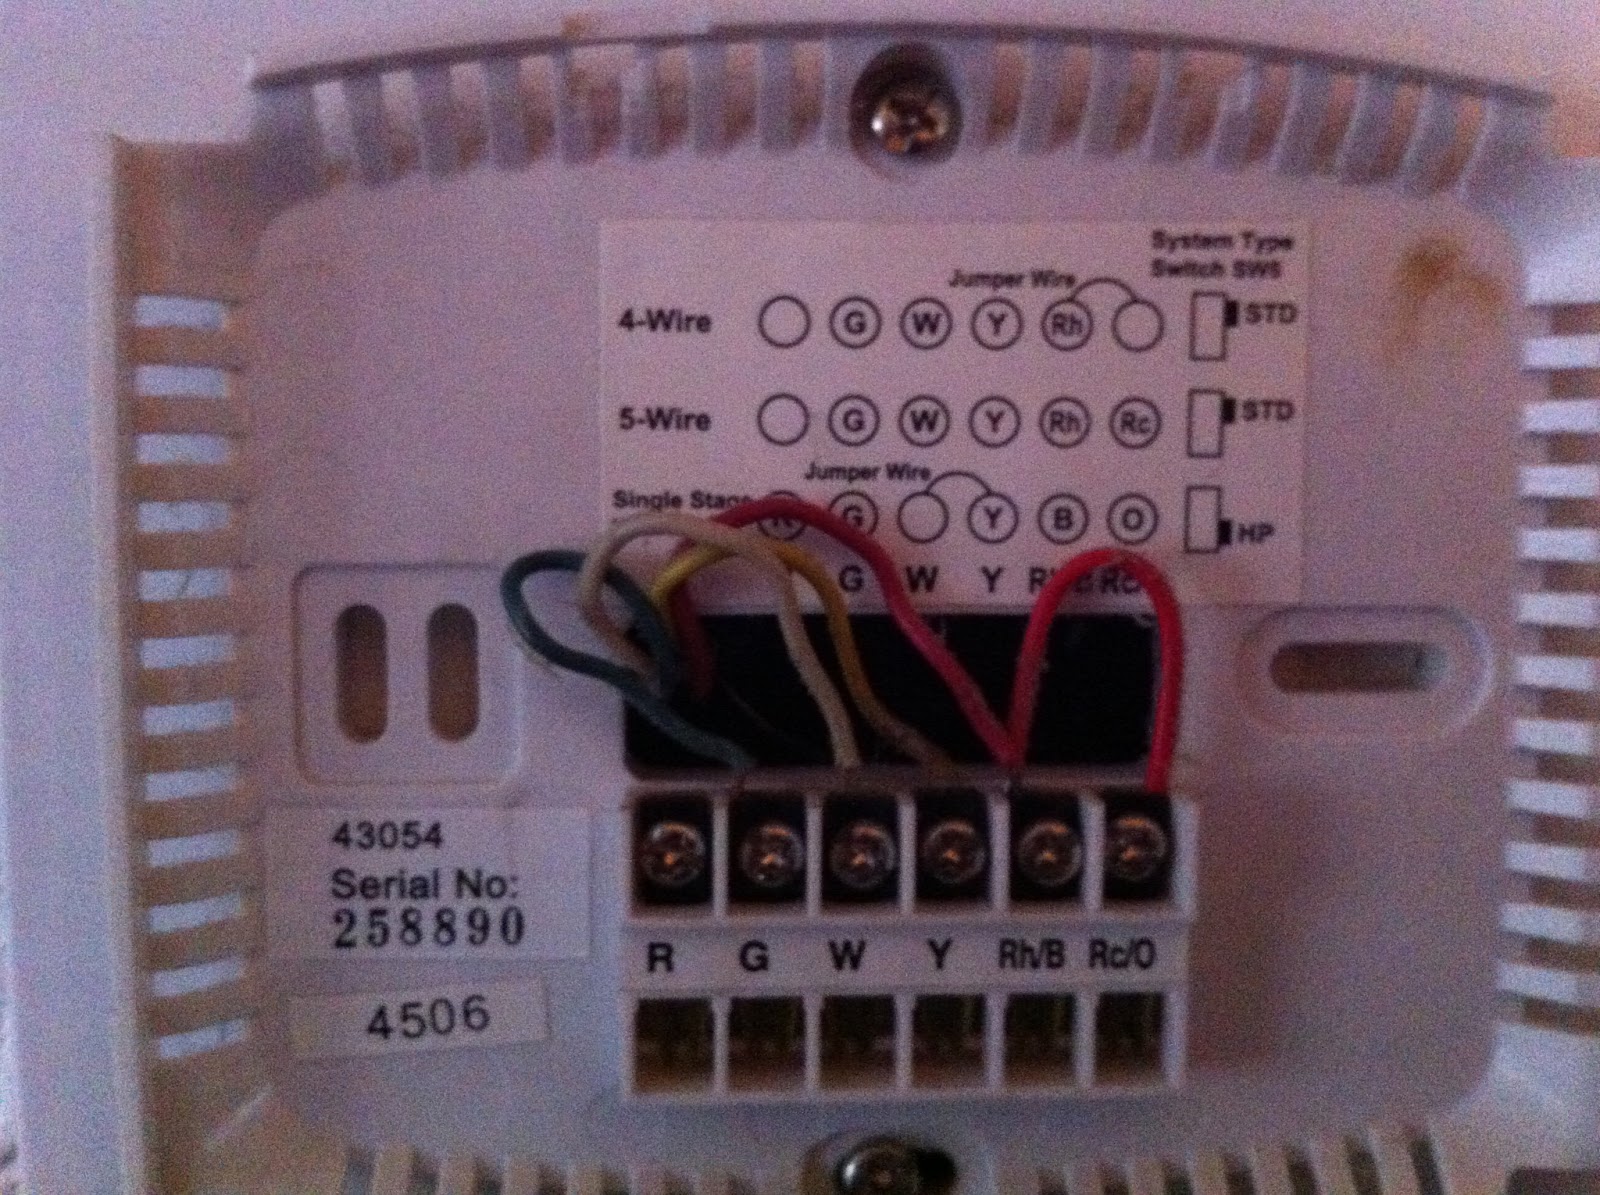

The old unit

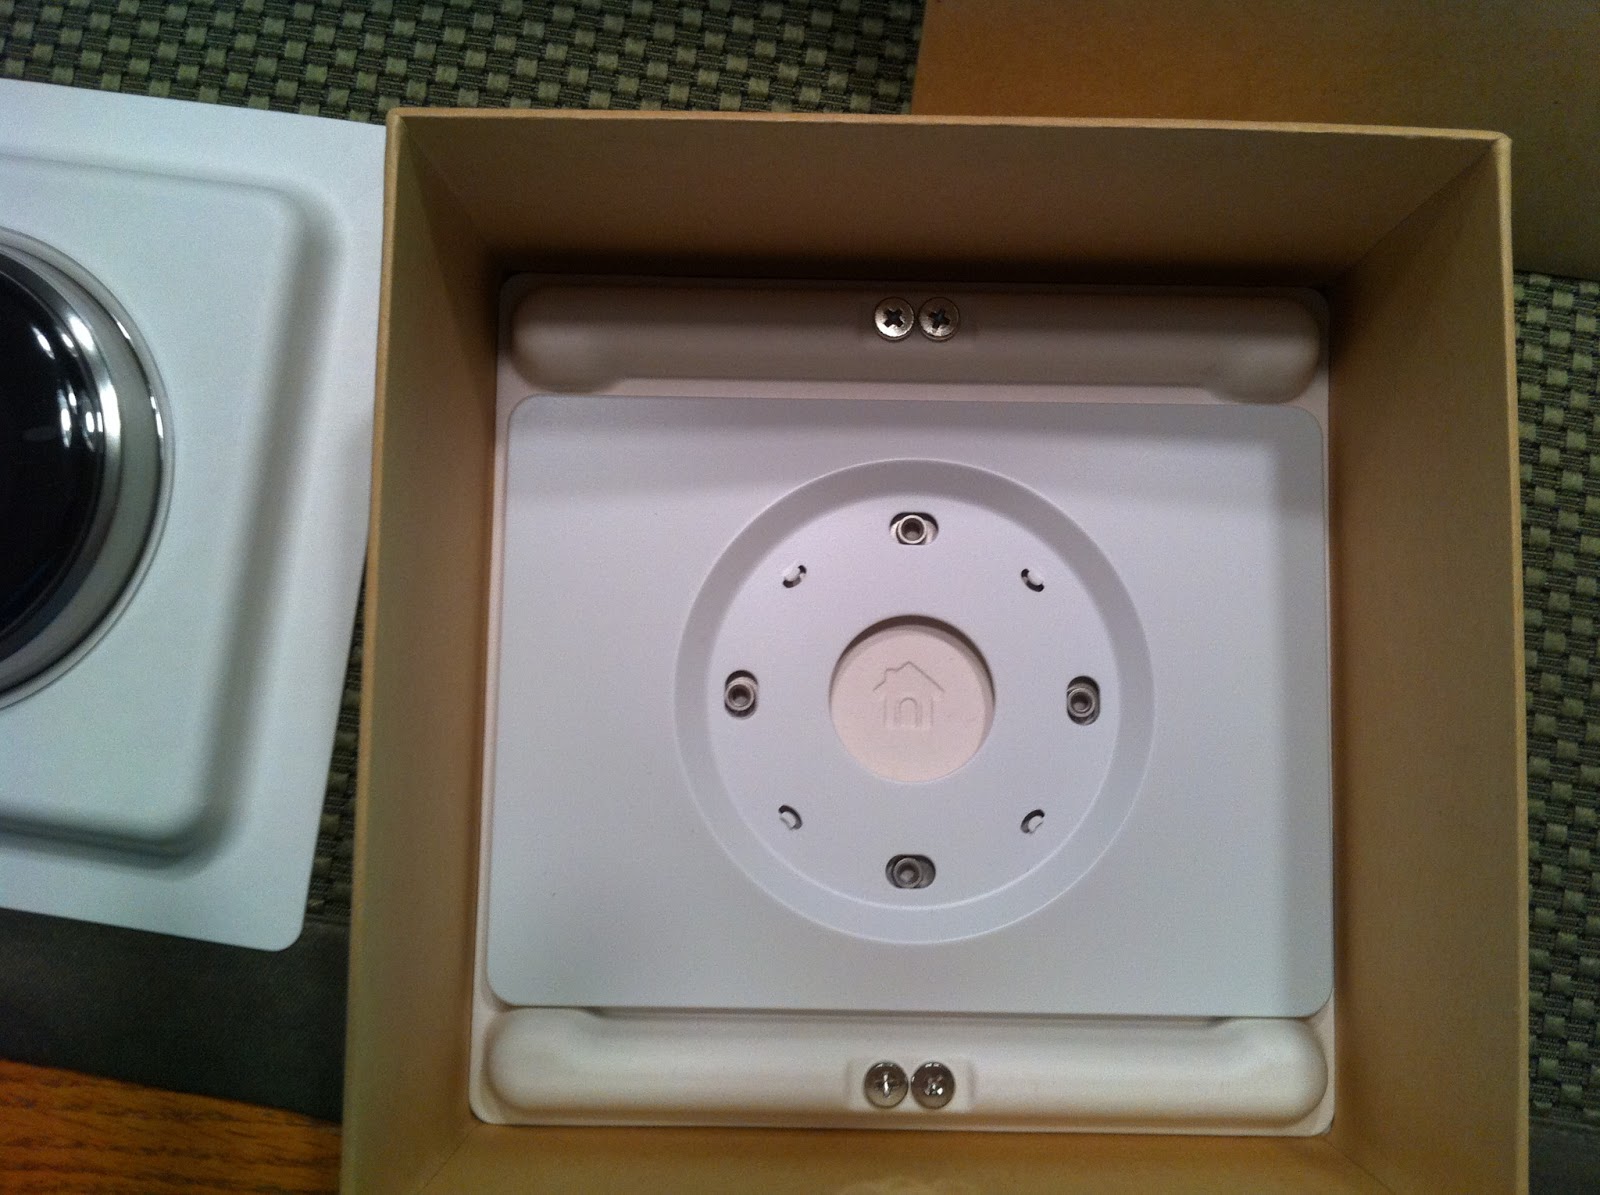
The packaging is very nice. Very "apple".


You are given many options for installation.


Once you input your old configuration,
Nest gives you a printout of what your new setup will look like.

Label the wires with the stickers supplied.

Install whichever of the options you need for your situation.


Connections are spring-loaded clips, like the ones for audio speakers.

Snap the unit on.

Turn on the power.

The icons rotate around the screen
And setup starts.


When finished, the unit began to function. Then I set up the wifi connection.

It will give you as much info as you like.
Even when a software update is available.


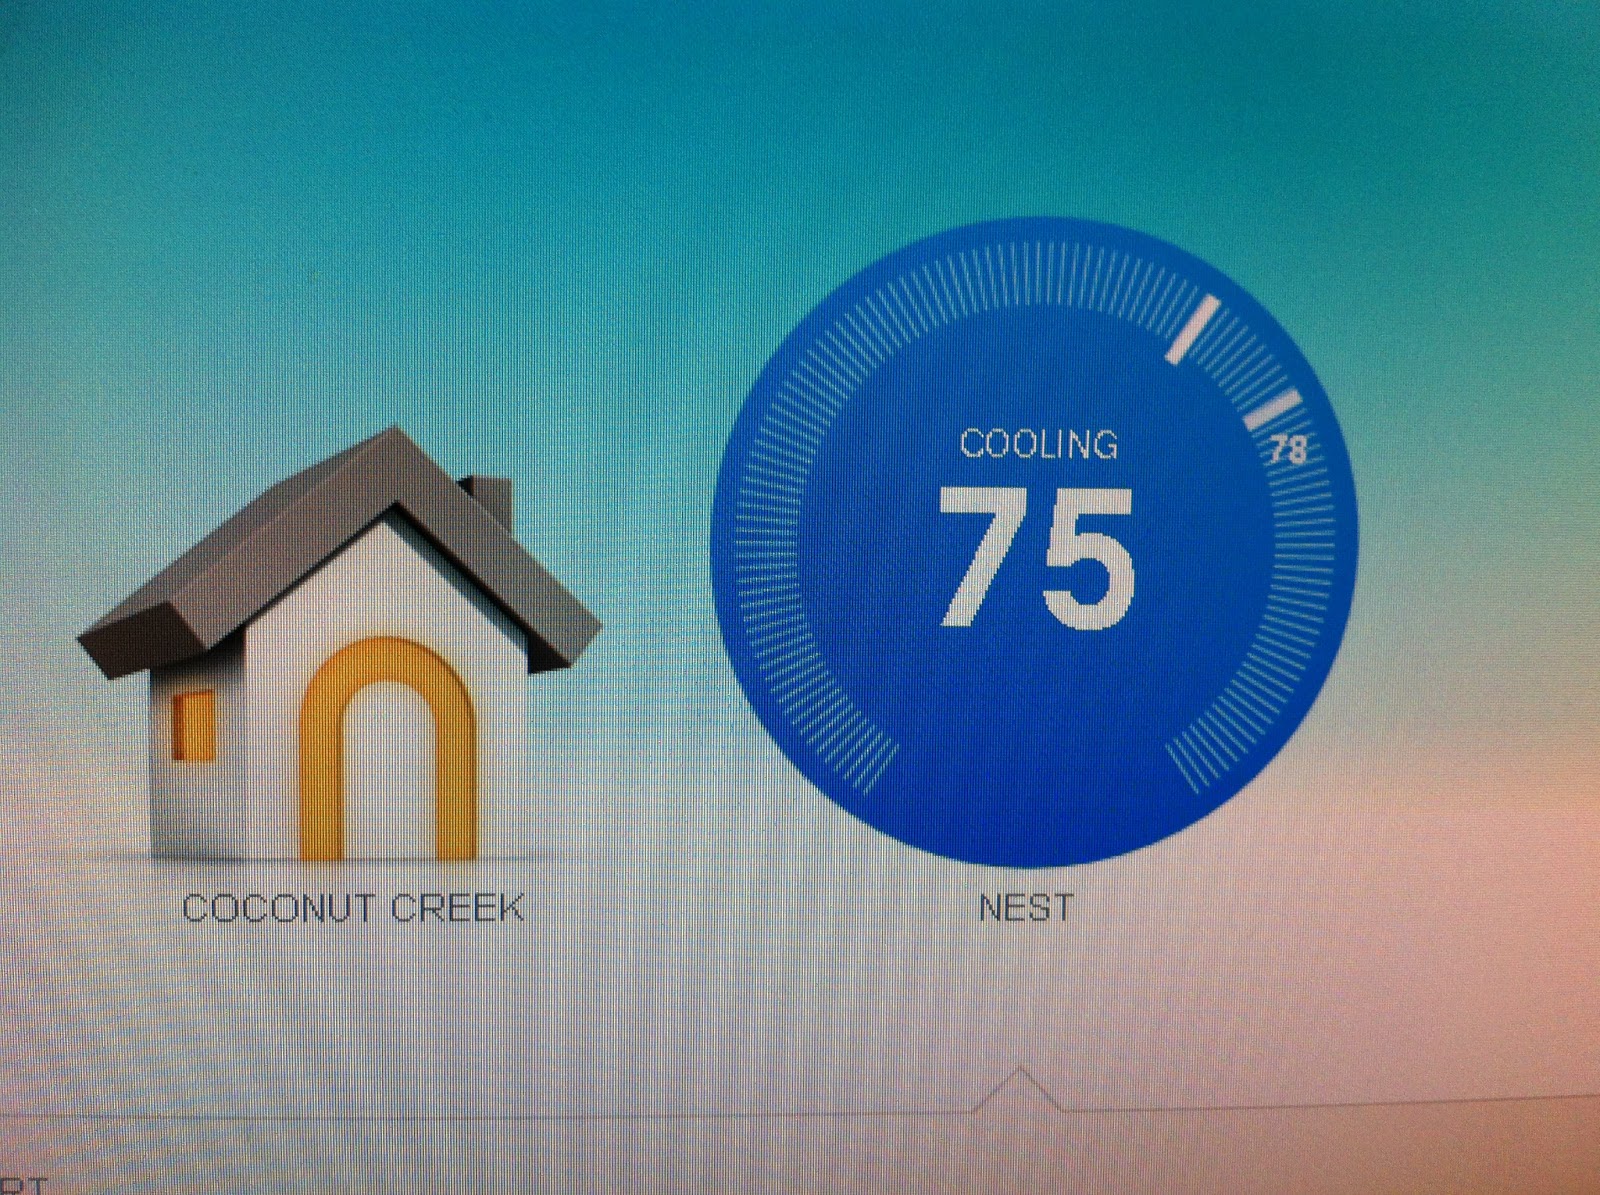
When I logged into the website... tadaaa

Once connected, we can control the unit for any web browser or smartphone.
The iPhone App


The Nest will chart our activity and usage.

Now that is has been working a couple of hours, all is well. It seems to be working as advertised. I will post updates after we take some time to evaluate. So far, so great!

(-']